How to Design Your Seat Covers in Our 3D Configurator: A Step-by-Step Guide
Ordering custom seat covers used to mean a trip to a trimmer, a book of fabric swatches and a lot of imagination. Our 3D configurator lets you do the whole job from your phone or laptop: you pick your car, build the design panel by panel, and watch it change on a 3D seat as you go. Here's a walk through all seven steps, with tips from our Dublin 15 workshop on getting it right first time.
Before You Start: Have These Ready
Five minutes of preparation saves a lot of back-and-forth later:
- Your car's make, model and year. The logbook or your insurance documents will confirm the exact year and generation. It's worth checking your car is on the car list before you begin.
- Your registration number. You'll need it at checkout. We use it to confirm the exact seat layout of your vehicle.
- A look at your current interior. Note the colour of the dashboard, door cards and carpets. If you're unsure what works, our guide to choosing colours and stitching is a good read first.
- A count of your seats. Front seats only, or the full car including the rear bench?
Step 1: Your Vehicle and Stitching Design
Select your brand, then model, then year or generation from the drop-downs. The configurator won't let you continue until all three are set, because every set is cut from a pattern for that specific vehicle.
Once your car is chosen, pick a stitching design:
- Original: clean panels that follow the lines of your factory seats. Understated and timeless.
- Honeycomb: a dense hexagonal stitch across the centre panels. Sporty and eye-catching.
- Classic: traditional stripes for a refined, OEM-plus look.
- Quilted: a padded, quilted finish that feels at home in premium and executive cars.
Some designs are an upgrade on the standard pattern. You'll see that reflected straight away in the live estimate shown on screen.
Step 2: Main Colours (Centre Panels and Side Bolsters)
This is where the car starts to look like yours. You choose colours separately for the centre panels, where you actually sit, and the side bolsters, the raised edges.
There are 16 shades to choose from, including Black, Navy, Grey, Silver, Brown, Cappuccino, Beige, Red, Wine and Orange. See them all on our colours page.
A few tips:
- Same colour on both gives a clean, factory look.
- A darker bolster with a lighter centre is a practical two-tone for Irish driving. The bolsters take the most wear from getting in and out, often in wet clothes, and a dark shade hides that best.
- Rotate the 3D model. Drag it around and zoom in. A colour that looks great face-on can look different from the driver's door angle.
Step 3: Headrests and Armrests
Next, set the colour for the front and back of the headrests separately. Matching the back of the front headrests to the bolsters is a popular trick, because it's what rear passengers see.
If your car has armrests, switch on the Armrests option to show them on the model and pick a colour. You'll confirm whether you need armrest covers at the final step.
Step 4: Stitching Colour and Quantity
Stitching colour is a small detail with a big effect. Tonal stitching (black on black, for example) looks subtle and elegant. Contrast stitching, such as orange or red on black, draws the eye to the pattern you chose in step 1.
Then set the quantity, the number of seats you need, up to 30 per design. That's handy for fleet operators and van owners ordering several vehicles at once. The live estimate updates as you change it.
Tip: before moving on, use the Download Design button in the corner of the 3D view. It saves an image of your design, so you can show it to your partner, compare a few versions or bring it to a workshop appointment.
Step 5: Your Details
The checkout is split into three short screens, with a running cart summary at the top of each. First come your name, email, phone number and car registration number. All of them are required. The registration is the one people forget, and it's the most important for getting the fit right.
Step 6: Delivery
Enter your street address, city and Eircode. Delivery within Ireland is free, sent tracked by courier (DPD or An Post Express), and the cart summary shows it as such. EU destinations have a standard shipping charge shown before you pay. Our shipping and delivery guide explains what to expect when the parcel arrives.
Step 7: Final Review and Payment
The last screen asks two questions:
- Armrest covers required? Yes or no.
- Professional installation? Choose self-installation, where printed instructions are included and the full installation guide is online, or add the professional installation service at our workshop in Ballycoolin.
Tick the box confirming you understand it's a custom-made order tailored to your car, check the breakdown, and pay securely through Revolut Business. It accepts cards, Apple Pay and Google Pay. Your set then goes into production. The standard waiting period is 6–8 weeks from the date of payment.
Prefer to Design It in Person?
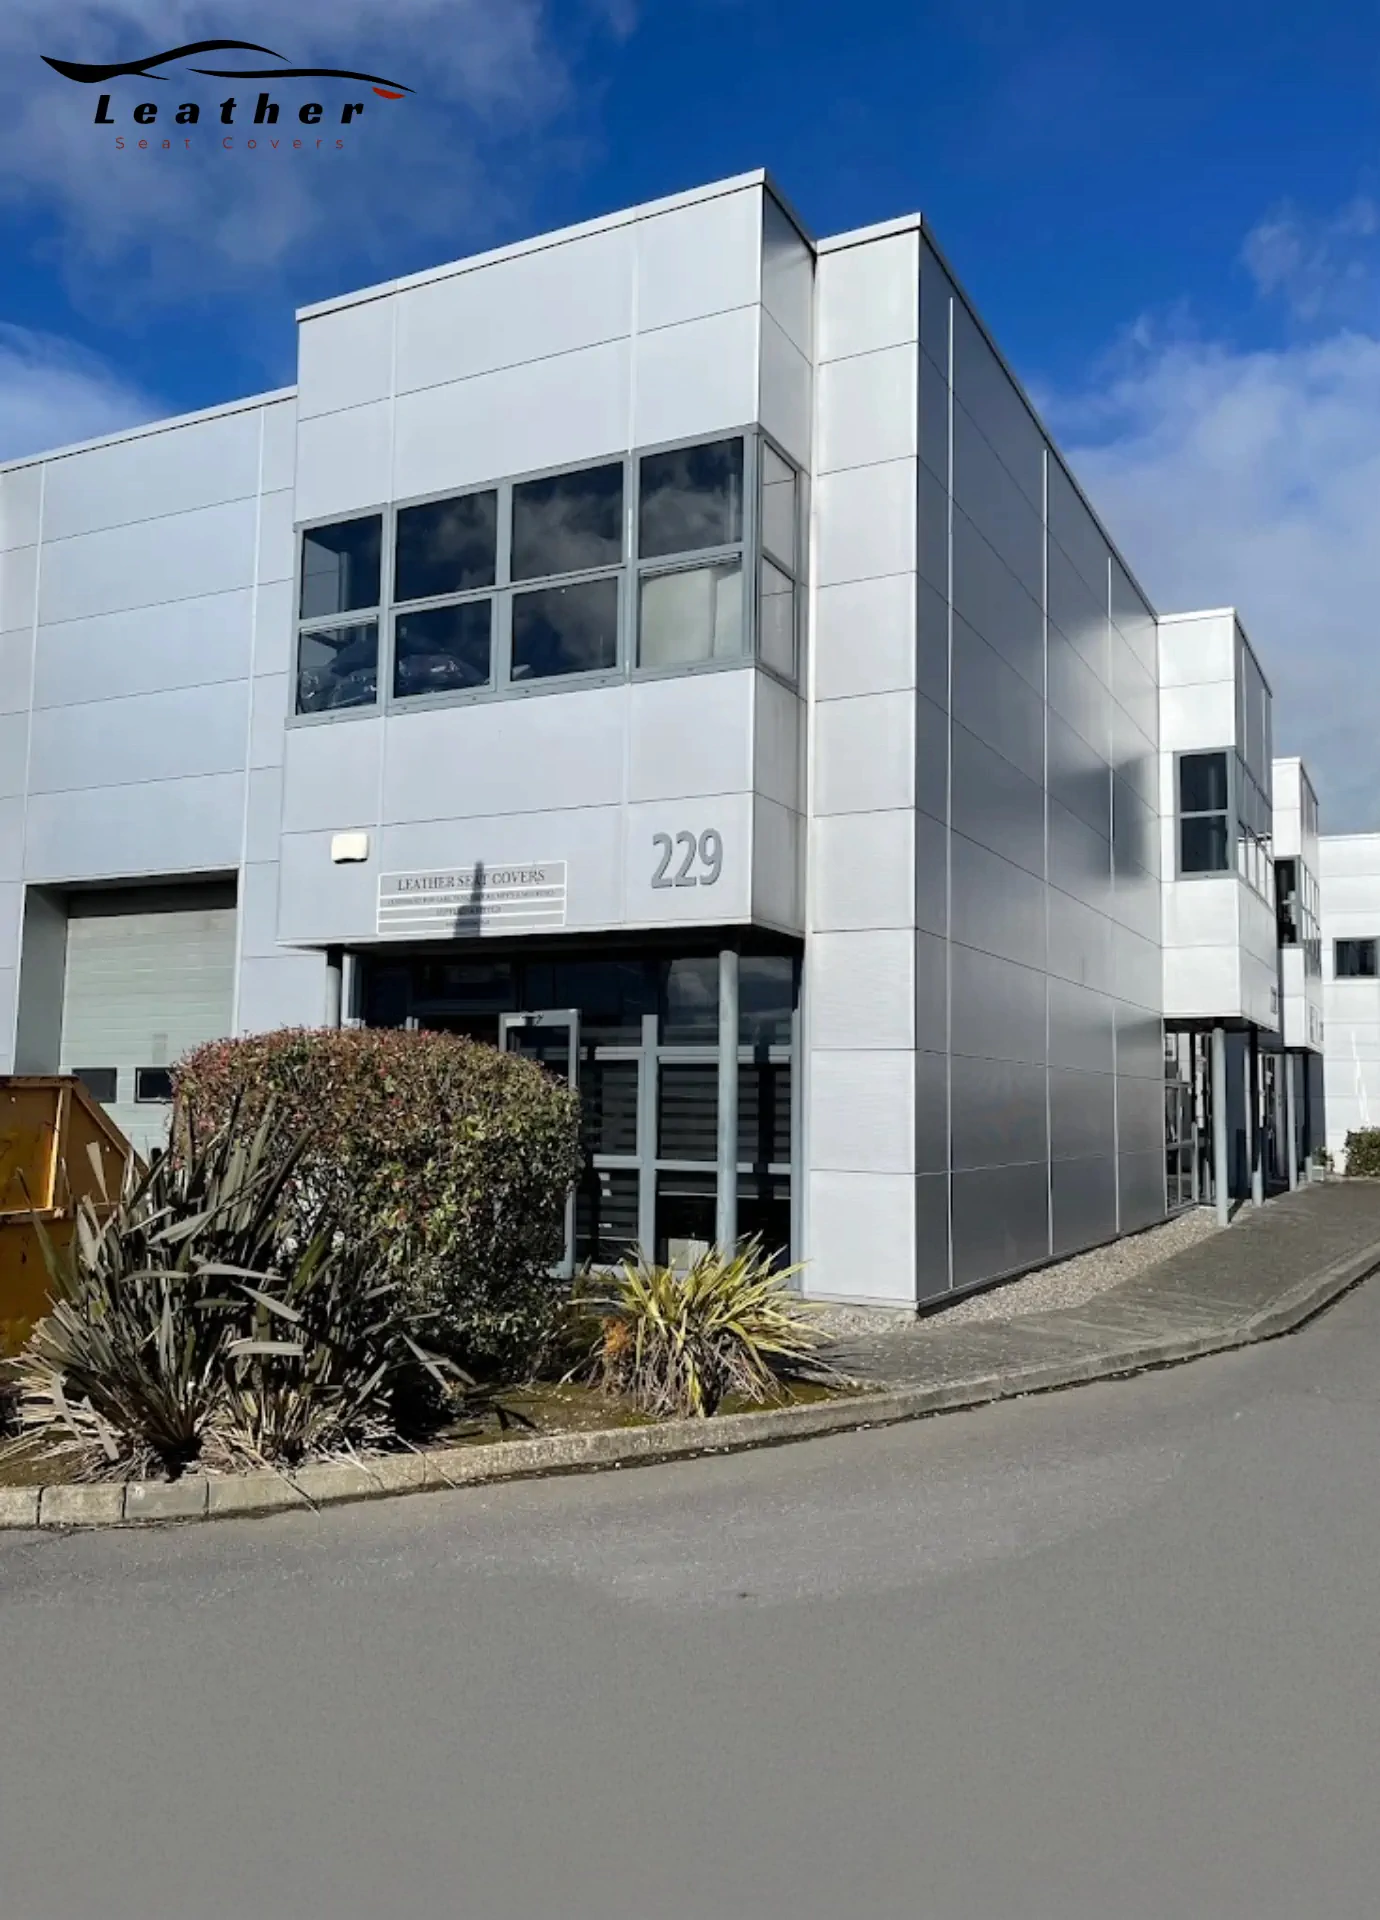
The configurator isn't the only way to order. If you'd rather see materials in your hands and have us fit the covers, visit the workshop at Unit 229, Blanchardstown Corporate Park 2, Ballycoolin Road, Dublin 15. We'll design the set with you, and a €200 non-refundable deposit secures your order and appointment, with the balance due on completion. All the details are on the payment options page.
Quick FAQ
Can I save my design and come back later? Use the Download Design button to keep an image of your choices. It's the easiest way to recreate or share a design.
My car isn't in the drop-down. What now? Check the car list and get in touch. Patterns are added regularly, and we can tell you whether your model is coming.
Is the on-screen price final? The cart summary in the checkout steps shows every line: covers, design upgrade, delivery and optional installation. What you see there is what you pay.
Can I change my mind after paying? Because each set is cut to order for your car, contact us as soon as possible if something needs changing, ideally before production starts.
Ready to try it? Head to the how to order page and start building your set. It takes about as long as a cup of tea.